I had already planned what I aimed to achieve. For instance, I wanted the actors to look directly at the camera because I was using half of each face. Furthermore, I wanted to use close-ups so that the audience could see their faces and eyes.
Although in the film my bully wore red clothes, I chose for both actors to wear dark colours as I felt that this would work with the black background better. Furthermore, I did not want the shade of red in the costume to clash with my red popping colour. Therefore, the dark tops still represent depression and sadness.
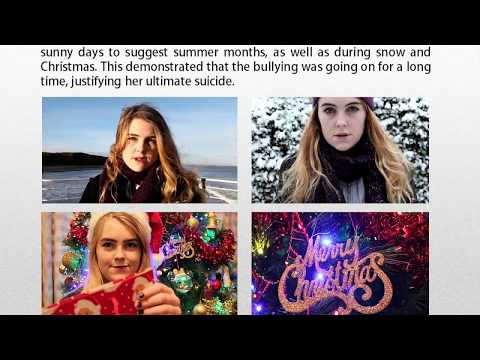
Seen as I knew what I wanted, the photo shoot was very smooth.
This is the image I decided to use for my poster...

First of all, I opened the image on Photoshop and cropped it, leaving only my protagonist. I then filled the background black as this is the same as the background of my poster. Then I opened the 'liquify' tool, focusing on the 'face-aware liquify' as this identifies facial features, enabling me to alter them.

I increased the 'eye size' of my protagonist; her eyes are a focus throughout the film. Therefore, I wanted to draw more attention to them in the poster to reflect her sadness and the idea that 'the eyes are the window to the soul'. Typically, audiences relate more to a character when they can look into their eyes. I only adjusted this subtly because I did not want this to look unrealistically edited.

I also used the paint brush tool with a reduced opacity to make the corners of my protagonist's eyes look red and like she had been crying.

Next, I used the 'smile' tool and decreased this to '-19' as this subtly altered the shape of my protagonist's mouth, making her look more sad. I also edited the lips using the 'paint brush' tool. I decreased the 'opacity' to 6% to subtly alter the colour of my protagonist's lips. Using the 'eyedropper' tool, I took the same shade of red used in my poster and double page spread. I then painted this onto my protagonist's face to suit the popping colour on the poster. Due to the reduced opacity, this was subtle but made her lips stand out more.

 I used the 'spot-healing brush' tool in order to subtly remove any blemishes from my protagonist's skin.
I wanted my protagonist to look paler as this reflects how she is a paler shadow of her former-self. Furthermore, this has connotations of illness, demonstrating that the bullying is effecting her health. Again, I used the paint brush tool, also with a reduced opacity. I then set the colour to white and painted my protagonist's face subtly. This successfully made her look pale and also drew more attention to her eyes and lips.

I then edited the image of my antagonist. I took the same approach mostly.
Again, first of all, I cropped the image and filled the background with the black used on my poster.
I then used the 'face-aware liquify' tool. Again, I edited my antagonist's eyes to be subtly larger. This way it looked like the character was looking directly at the audience, almost bullying them. Therefore I felt that this fit with the context of the character.
In addition, I added some black paint to the eyes as there was a gap in the actor's eyeliner.

Similarly, I altered the colour of my antagonist's lips using the 'paint brush' tool with a reduced opacity. I used the same colour as my poster and double page spread using the 'eyedropper' tool again. I then painted this colour on subtly, and it drew more attention to them.
Next I used the 'spot-healing brush' tool to remove any blemishes.

I made my protagonist paler through editing, however I wanted to make my antagonist more tanned. Not only does this suit the convention of teenage girl bullies (being trendy and fashionable) it also adds another clearly visible contrast between the two.
This is the edited image...

I am pleased with these images as they will stand out on my poster, as well as demonstrating the contrast between the two characters. This is the difference between the original image and the edited versions...


I then placed these onto my poster, and resized them to look big enough on the page. I used half of each face, one on each side of the page. I decided to do this because I feel that it emphasised the confrontation more than if they were blended together.
This is what it looks like...

I then added my tagline...

I chose this tagline because it has connotations with bullying. Furthermore, it further emphasises the contrast between the two characters, suggesting that one is a stick (delicate and fragile), and one is a stone (rough and hard).


No comments:
Post a Comment